Sunday 19 June 2016

Heather: Mum's Simplicity Garden Party Dress

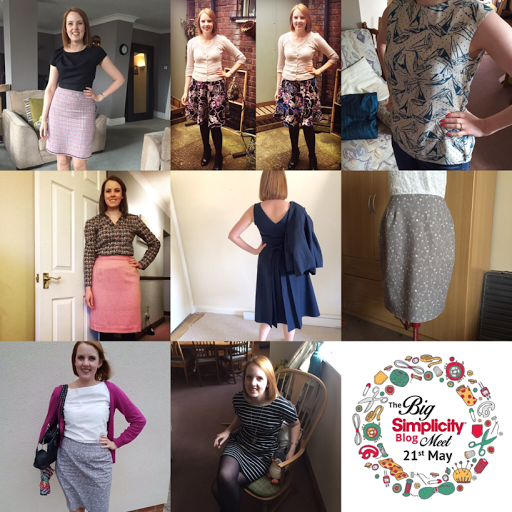
Back in May Bridie and I headed up to Manchester for The Big Simplicity Blog Meet. At the event Simplicity launched their sewing challenge for 2016, which consists of 4 patterns and 5 sewing categories. You can read about them here. I selected the dress pattern and headed over to Fabric Corner to select my fabrics.

Simplicity 1458. Image courtesy of Simplicity
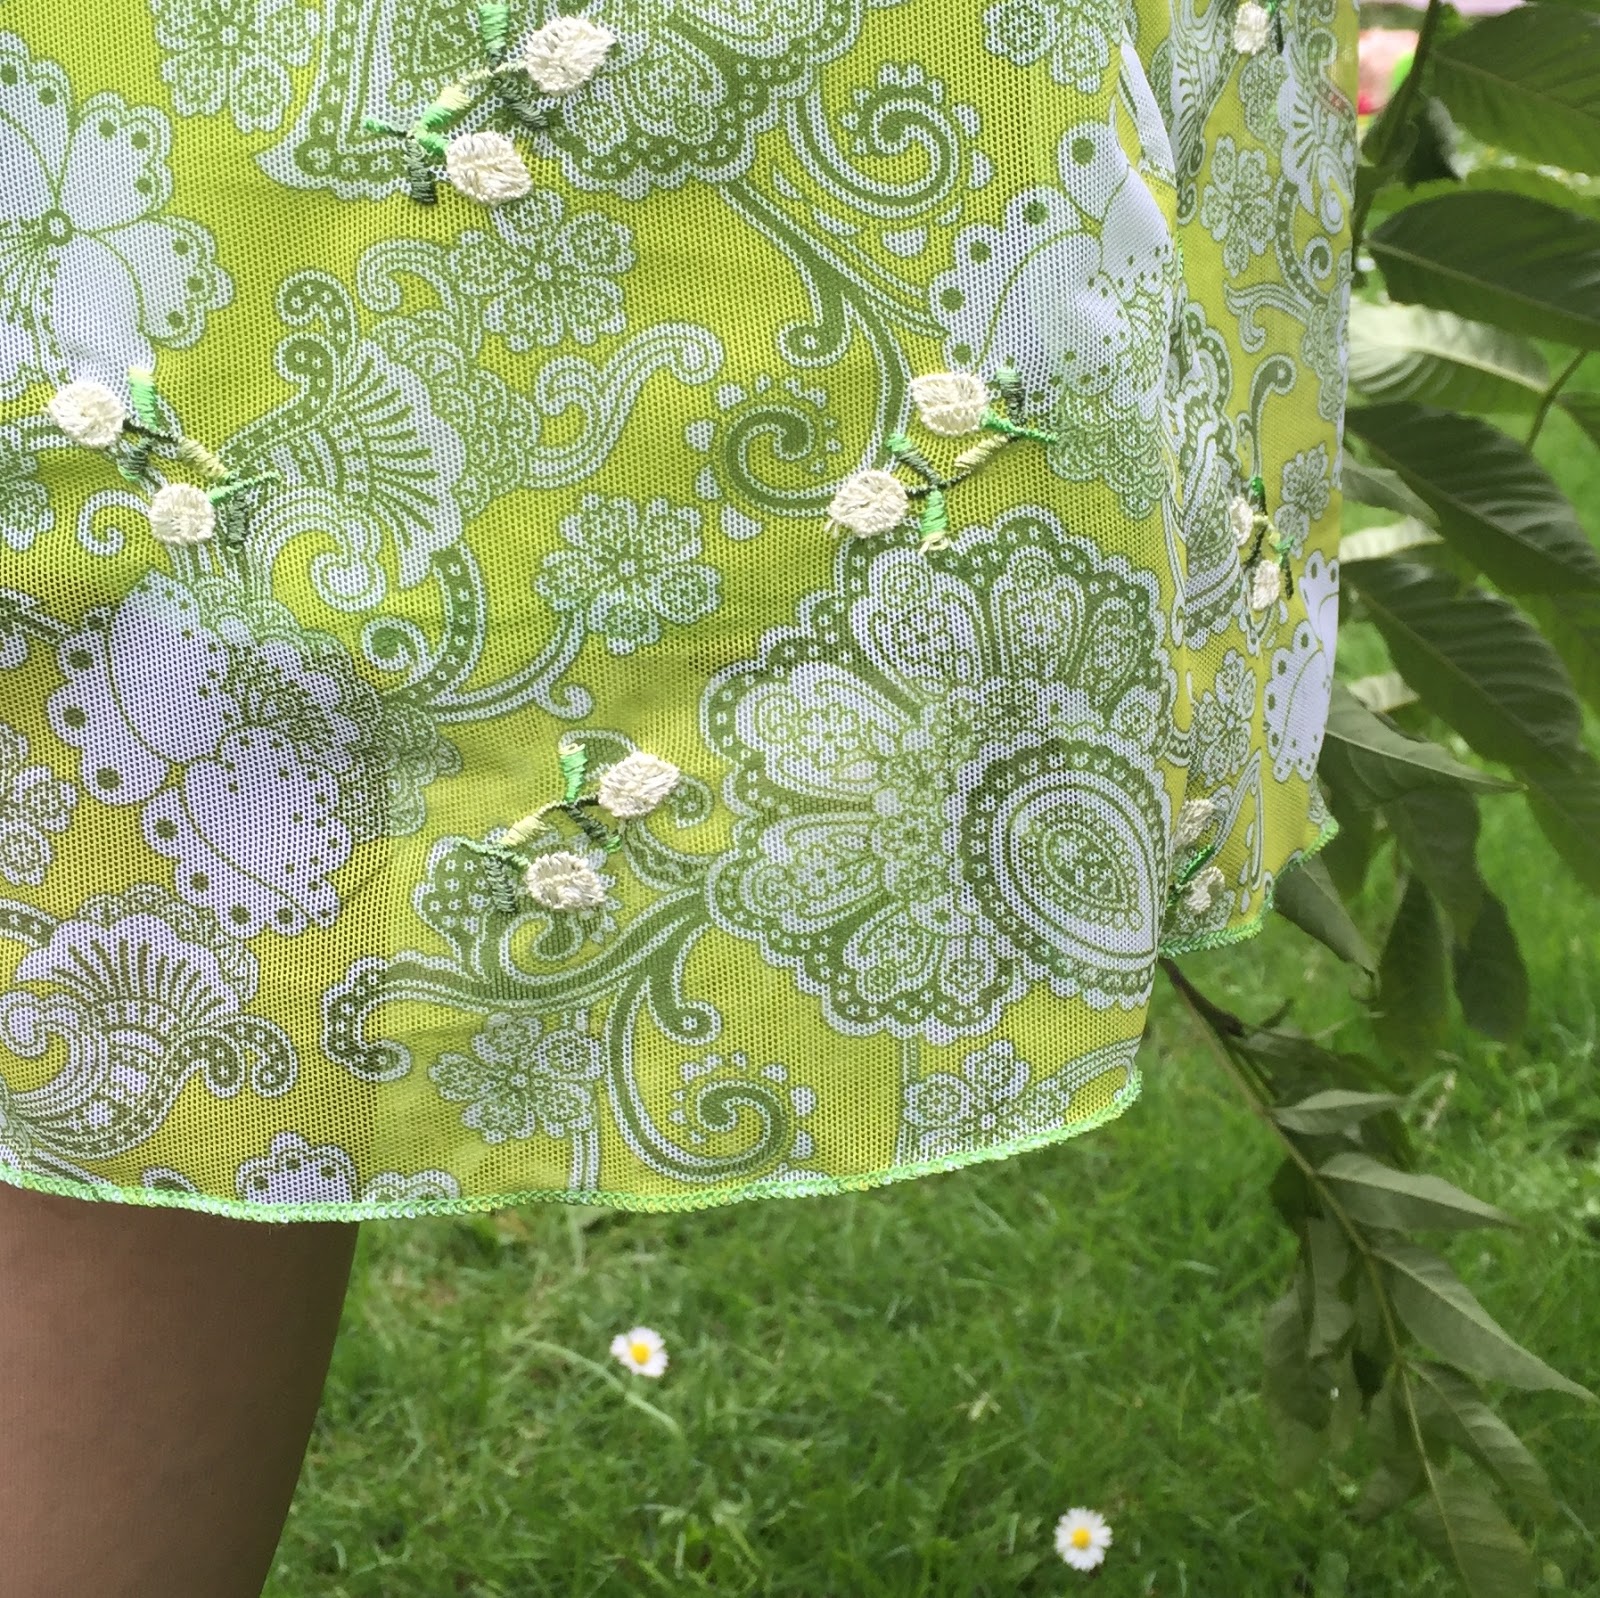
I opted for version B and I was looking for a fabric that was eye catching but relatively easy to work with. The pattern suggests light to medium weight woven fabrics but when I spotted this green paisley-printed, embroidered stretch mesh I knew it was the right thing. (I know, I know, that fabric is neither easy to work with, nor a light to medium-weight woven... but this is supposed to be a challenge, right?!) I found a remnant of green cotton hiding at the back of a shelf and also picked up a fantastic bright green concealed zip.


I headed home, excited by my upcoming make. And then my Mum turned up. Now, I should say that my Mum is an extremely capable sewer and was the first person to pop me in front of a sewing machine and encourage me to have a go (not to mention indulging my incessant stealing of pop socks to make jersey-dresses for Barbie... more on that another day maybe), which means that I couldn't say no when she spotted the fabric and this happened...


So, that's how my green mesh dress became Mum's Garden Party Dress.

Next step was choosing the pattern pieces. This pattern is part of the 'Amazing Fit' range which includes separate front pattern pieces for cup sizes B-DD, and individual back pattern pieces for slim, regular and curvy fit. Even though I've sewn for Mum before I took a new set of measurements and made just a couple one alteration to the pattern, shortening the back length by 1/2". At this point I also altered the sleeve by adding 3 inches at the shoulder seam at the sleeve hem to create a more fluted sleeve.

I made up my toile using the green cotton that would ultimately for the inner layer of the garment. The pattern gives facing pieces fro the neck and armhole which were omitted. If you're reasonably confident on the fit, using a lining is a great way of fitting a garment without needing to make a full toile in muslin. The cotton is also pretty forgiving if it requires unpicking. As expected, at the first fitting I only needed to make slight alterations to the fit, adding a small amount of extra wearing ease at the waist and widening the neckline slightly, as I had decided to move the zipper channel under the arm.

Now for the stretch mesh. I am lucky to be in possession of a rather lovely Janome 8002DX overlocker which was an absolute essential for this fabric. Having transferred all of the alterations from the toile I quickly whipped up the outer layer using the overlocker only, trimming the seam allowances on the machine. The small embroidered flowers on the fabric did present a challenge but a slow speed and perseverance paid off.

I assembled the remainder of the garment treating the cotton layer as the lining, resulting in the exposed seams being enclosed between the mesh and the lawn. I was concerned this would show through to the outer garment but this wasn't the case. I inserted the sleeves and added an invisible zip, finally finishing the hem and sleeve hem with a rolled hem stitch on the overlocker. 


The finished garment went down a storm! Mum and I spent a rather amusing afternoon in her garden trying to get some pictures of the dress 'in use'. Mum's not a fan of being in front of the camera so I told her she could have one garden prop to make her feel more comfortable. I was thinking a watering can, but she went for a branch!


--
The fabric used in this post was kindly provided by Fabric Corner Lincoln, based at The Craftea Sewing Bee Shop, 22-24 Melville Street Lincoln, and at Lincoln's Historic Central Market.


Sunday 12 June 2016

Bridie: My Sewaholic Gabriola Skirt


So a while ago I went a bit crazy buying PDF download patterns I think I bought 3 in one day, my excuse was it was Black Friday so got some good deals, but still a little excessive especially as I didn't have a project line up for them yet. I had a feeling I would get round to using them and I was right. Last months Sew It Yourself Meet Up Mini Challenge was to create a skirt and when I remembered I had the Sewaholic Gabriola Skirt I knew it would be perfect.


This skirt requires a lot of fabric about 3.5m for 60 inch width and about 5m for 45 inch width fabric. I wanted to make a wearable toile as that's quiet a lot of fabric to for a first attempt at a pattern. So I raided my stash and found this amazing fabric that was my Grandmas. I believe its a crepe de chine but I could be wrong. The important thing was it draped beautifully and there was meters and meters of it (I still have a good meter let)  


So after a lot of sticking, the only downside to PDF patterns is how long it takes to put them together, I was ready to go. The fabric I used required a lot of pinning while cutting as its very slippery on one side. Got there in the end though, well I thought I had turned out I'd missed out a full side panel. Luckily I had enough fabric left to go back and cut it out. Highly annoying though! 


It was defiantly one of the fiddlier garments I've made what with lining up all the panels in a fabric that didn't want to cooperate. I'm just glad I wasn't pattern matching that would of been a nightmare! Overall very pleased with it. I think the fabric was well worth the extra effort and the panels give the skirt a beautiful shape!


I do think next time I'm going make it a size smaller. I took it in a little at the waist which I think it needed and also requires a lot chopping off the hem for me and I'm about average height. They're easy issues to fix !


To get a real idea of how lovely this pattern is you have to see it in motion!


I hope you've enjoyed this post!

Happy Sewing x

Sunday 5 June 2016

Heather: The Big Vintage Sew Along


The Big Vintage Sew Along is an annual blogging event organised by McCall Pattern company. Each year they choose a selection of reproduction vintage patterns from their range and invite the sewing community to have a go at reproducing these vintage styles. You can find out more about the project here.

If you've read some of my older blogs over at Dresstoration you'll know I'm a vintage fan, so when I received details of the challenge I knew I wanted to get involved. I picked out this lovely 1930s coat-dress which I thought would suit my style. 

From the moment I started cutting the pattern out I knew this garment was going to be tricky. If you look closely at the pattern diagram you'll see there are curved darts of the hips and shoulders. This is not a feature I've ever attempted before, so I decided to make a toile of the bodice in some leftover muslin, to check I could get the curves right.

I started with my usual method of checking the garment fit against my pattern block. I shortened the bodice back by 2cm at the seam, and the front by 2cm at the shoulder. Having cut out the pieces from muslin and battled for about 30 minutes to get the curves to fit together nicely, I thought it might be a fun idea to read the instructions... (I have inherited this bad habit from one of my parents. Clue: It's not my Mum.) 

This dress has an unusual feature, in that almost all of the seams are joined together with a line of top stitching/edge stitching rather than the classic right-sides-together method. This means that those lovely curved darts are actually created by pressing under the curves and then lining them up with their corresponding partner before edge stitching in place. Not easy. (Big thanks to Amy from Almond Rock who set me on the right track here! See her version of this dress here.

Having figured out what I was supposed to be doing I stitched up my toile, with promising results.


Happy with the fit, I rooted through my stash and found some tan cheesecloth in a perfect 1940s brown, which I thought would make a lovely summer version of the outfit. I also opted to shorten the sleeves at this point for the same reason.

I started by making up the back of the garment. The curved edges were tricky but not impossible, and aided significantly by the purchase of an adjustable zipper foot which allowed me to align the edge of the foot which the edge of the fabric perfectly. The instructions suggested using a contrast thread for the visible stitching so I went for a soft coral pink, as I knew it would match a pair of vintage-looking shoe boots I picked up from Office a few years ago. 

The majority of the garment assembly was straightforward and before long I had 90% of a completed garment, just awaiting the attachment of the collar and front panels. This is where things started to get a little tricky. On the front of the garment there are two tiny pockets. See them? No, I didn't either. They are actually hidden behind the top two curves of the bodice and creating them involves a lot of pins and pressing and tacking (and swearing). Finally I got to this point: the front top stitching.


There are some learning points here: 
1. I should have tacked these beastly darts in place rather than sewing straight from pins.
2. I should have overlocked the edges of every piece before I even started this exercise.
3. You can't press cheesecloth enough times- it will always looked like you just screwed it into a ball.
4. Cheesecloth was not the right fabric for this dress.

The fabric moved around a lot whilst stitching. It pulled out of shape in some places, and there are some definite hidden holes under those seams from my stitch unpicker.
But I finished it. It was really tricky, and there was definitely a point that I was ready to consign this to the pile of never-to-be-finished UFOs. 
But I persevered, and I'm so pleased I did...

Check out those shoes!


You can just make out the contrast edge stitching here.


Hand stitched arrow heads on each dart.

--

Why not have a go at your own vintage challenge?

Wednesday 1 June 2016

Heather: #mmmay16 Roundup

Those of you who follow our Sew It Yourself Facebook page will be no stranger to "Me Made May"; an event in the sewcial calendar which encourages sewists to wear their handmade items throughout May, and post about them online. Every pledge is different- some people decide to post every day, some just once a week. I decided to try and post every day so here is my roundup!


Now, the keen-eyed amongst you will see there are only 27 photos... Well, Bank holidays don't count, right?! ;)

Did you take part in #mmmay16? How did you get on?